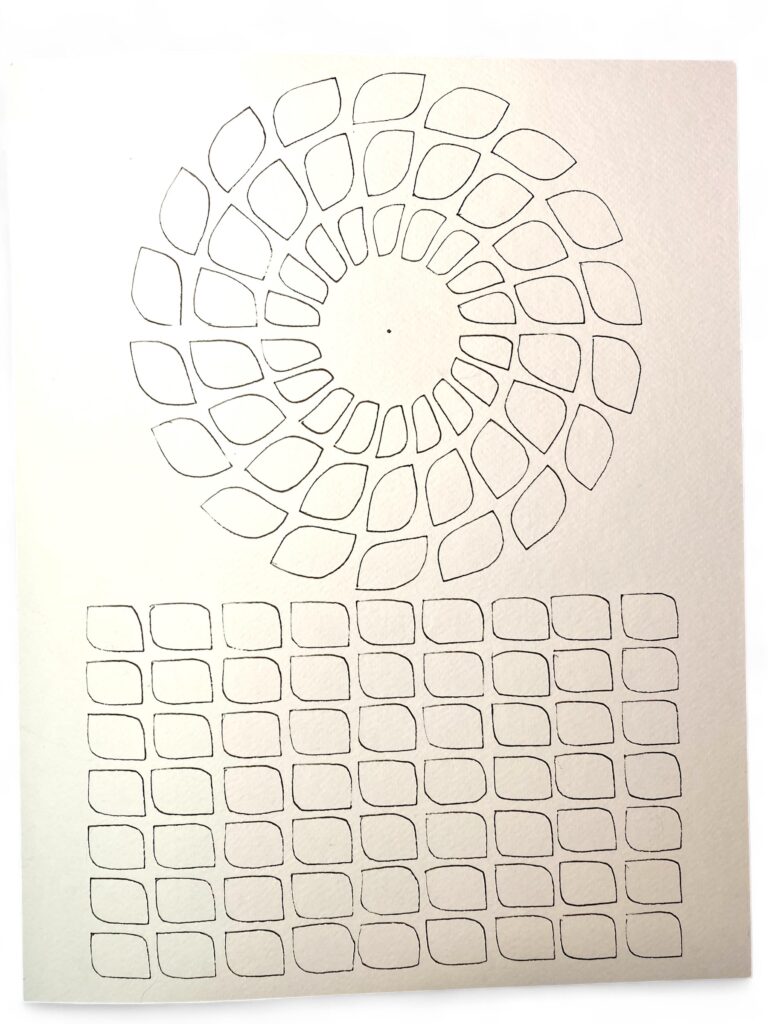
Here are step-by-step instructions to trace the colour circle side of the ColourJot Template.
1. Position the stencil squarely on the page. Use the top of the stencil to align with the top of the page, and the bottom of the stencil to align with the bottom of the page.
2. If you’re creating a 2-page spread, be aware of the gutter and align your template so that no openings are on that gutter.
3. Rotate the stencil 360° and double-check that your circle is placed where you want it on the page.
4. When you’re satisfied with the placement, secure the template into position using Nitto watercolour tape or similar low-tack drafting tape.
5. Trace directly using a .08 Sakura Pigma Micron, or similar fine-tipped, waterproof, permanent marker. There is no need to use a pencil to pre-trace the stencil, as you’ll have to ink it later anyway, so try to do it in one step. It saves time and looks better.
6. Use a pin (or the tip of the marker) in the centre pivot point, rotate the stencil 360°, and trace again to complete your circle.
More ways to use a ColourJot Circle Template
ColourJotting is not limited to watercolour or gouache on paper. Use the appropriate surface to match your paint type.
For acrylic painters: Trace the template onto Bristol paper, illustration board, or watercolour paper (same options as watercolour).
For oil painters: Trace the template onto a primed canvas in a pad, board, or stretched canvas.
For textile artists: Outline with a fine-tipped fabric marker and use your textile paints like Jacquard Dye-Na-Flow or Pebeo Setacolor.
For coloured pencil artists: Practice layering and gradual pressure techniques for modifying colours.
The smallest format that fits both the circle and the grid is 11×14” and 12×16”. Acrylic painters can use Canvas Paper, canvas board, or a watercolour pad. Oil Painters could use a primed canvas pad, a primed canvas board, or Oil Paper like Stonehenge Oil or Arches Oil. This larger format is also good for art instructors making samples to share in class.